Writing a check might seem old-fashioned in today’s digital age, but it remains an essential skill. Whether you’re paying bills or gifting money for special occasions, knowing how to write a check correctly is crucial. It can save you from potential headaches and ensure your transactions go smoothly. This step-by-step guide will take you through the process of writing a check like a pro. Get ready to master this timeless method of payment!
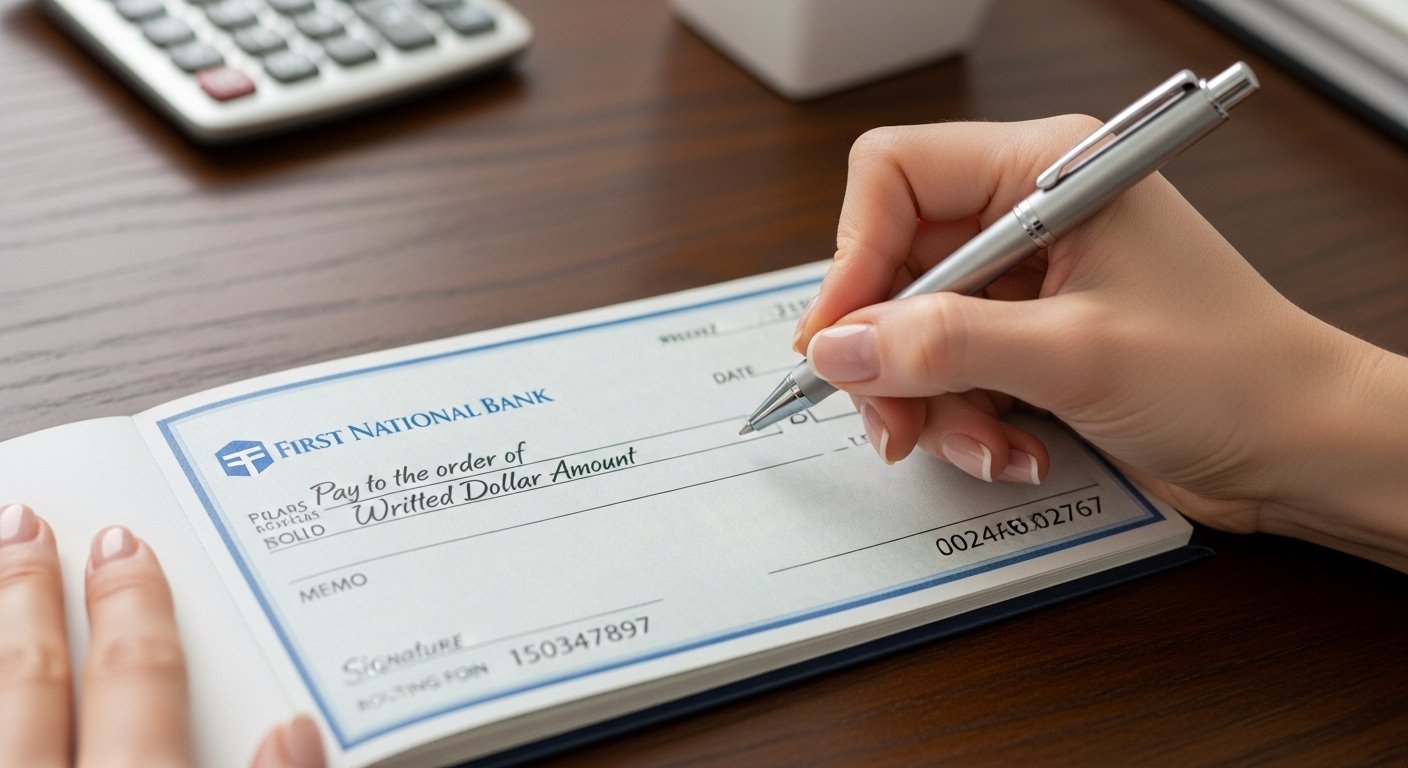
1: Fill Out the Date and Payee Information
The first step to writing a check is all about getting the basics right. Start by locating the date line, usually found in the upper right corner. This is where you’ll note when you’re issuing the check.
Next, focus on the payee section. This area indicates whom you are paying. It could be an individual or a business name. Make sure to spell it out clearly and accurately; mistakes here can lead to issues down the road.
Using blue or black ink helps ensure legibility and prevents alterations later on. Take your time with this step—it sets the tone for everything that follows! A well-filled date and payee field establishes trust and clarity in your financial transactions.
2: Write Out the Check Amount in Numbers and Words
Once you’ve filled in the date and payee information, it’s time to tackle the check amount. This step is crucial because precision matters.
Start by entering the amount in numbers. For example, if you’re paying $150.50, write “150.50” in the designated box on the right side of the check. Make sure your handwriting is clear and legible; any confusion could lead to issues down the line.
Next, you’ll need to spell out that same amount using words on the long line below. Write “One hundred fifty and 50/100” for our earlier example. This dual entry protects against fraud or misunderstandings.
Always remember to end this section with “only.” It neatly signifies that there are no additional cents beyond what you’ve specified—keeping everything tidy and professional as you prepare to move on!
3: Add a Memo (Optional)
Adding a memo on your check can be quite useful. It allows you to note the purpose of the payment. This can help both you and the recipient keep track of transactions.
The memo section is typically located at the bottom left corner of the check. You can write anything from “Rent for October” to “Birthday gift for Jane.”
Using this space effectively makes it easier to remember details later on, especially when reviewing your finances. It also helps recipients understand what they’re being paid for.
However, if you’re in a rush or prefer simplicity, leaving this section blank is perfectly fine too. Just make sure that all other information is accurate and clear before handing over your check.
4: Sign the Check
Now it’s time to put your signature on the check. This might seem simple, but it’s a crucial step in the process.
Locate the bottom right corner of the check. You’ll find a designated space for your signature there. Make sure you sign exactly as your name appears on the account.
Use blue or black ink for clarity and professionalism. Avoid using pencil or any other colors that may fade over time.
Ensure your signature is neat and legible. A messy autograph can raise questions about authenticity, which could delay payment.
If you’re signing on behalf of a business, include your title next to your name. This adds legitimacy and helps clarify who authorized the transaction.
Double-check before handing over or mailing out that everything is filled out correctly, including this important step!
5: Record the Check in Your Checkbook Register
Once you’ve written your check, it’s essential to track it in your checkbook register. This step helps maintain an accurate record of your finances.
Start by noting the date of the transaction. Next, enter the payee’s name and the amount issued. This information keeps everything organized and prevents confusion later on.
Don’t forget to include any fees associated with that check if applicable. Keeping a detailed log will help you manage your budget effectively.
Regularly updating your register ensures that you stay aware of how much money is available in your account. It also aids in spotting discrepancies when reconciling bank statements.
Review this record before writing new checks to avoid overdrafts or bouncing payments. Being diligent about tracking each expense leads to better financial management over time.
Tips for Writing Checks Safely and Correctly
When writing checks, safety should be a top priority. Always use a pen with permanent ink to prevent alterations or forgeries. Avoid using erasable pens, as they can easily be tampered with.
Keep your checkbook in a secure location. If it goes missing, report it immediately to your bank. This helps protect you against potential fraud.
Double-check all the information before handing over the check. Verify the date, payee name, and amount—both numerical and written—to avoid costly mistakes.
Consider adding additional security measures, like watermarking your checks if possible. This can discourage unauthorized copying.
Limit who receives your checks. Share them only with trusted individuals or businesses to further minimize risks associated with check payments.
Common Mistakes to Avoid
When writing a check, precision is essential. One common mistake is forgetting to date the check. An undated check can create confusion and delays in processing.
Another frequent error involves misspelling the payee’s name. Double-checking the spelling ensures that funds reach the correct recipient without complications.
Using an incorrect amount can lead to significant issues. Always verify that both numeric and written amounts match before handing over your check.
Neglecting to sign your check renders it invalid. A missing signature means no one can cash or deposit it, leaving you back at square one with your payment obligations.
Pay attention to these details for smoother transactions every time you write a check.
How to Void a Check
Voiding a check is straightforward and essential if you need to cancel an issued payment. Start by taking the check you want to void.
On the front of the check, clearly write “VOID” in large letters across the entire surface. This makes it obvious that this particular check is no longer valid.
If you’ve already given it out, inform the recipient that the check has been voided to avoid any confusion. You might also consider issuing another payment method if needed.
Make sure to note this action in your checkbook register for accurate record-keeping. Keeping track helps prevent mistakes later on.
For security reasons, keep any voided checks in a safe place rather than throwing them away carelessly. This protects your financial information from potential fraud or misuse.
Conclusion
Writing a check may seem like an outdated skill in today’s digital age, but mastering it can be surprisingly beneficial. By following the steps outlined above, you can confidently write checks for various purposes—whether paying bills or gifting money to friends and family. Remember to take your time while filling out each section to avoid any costly mistakes.
Staying organized is also key; keeping track of your transactions helps maintain your financial health. And if you ever need to void a check, knowing how to do so properly will save you from potential headaches down the line.
With these tips and insights at hand, you’re well-equipped to navigate the world of checks with ease. Happy writing!